
Whilst loving crochet, I am so lazy when it comes to stitching the body parts together, so I wanted to try a technique of attaching as many pieces as possible by holding them at the front of the work and crocheting through both them and the working piece. In order to follow this pattern you will have to start by making the tail, one leg and then continue from the second leg up the body and through to the top of the head.
As this is a toy, the thickness of yarn and tension are not important. Just remember that the chunkier the yarn, the bigger the finished size of the toy. Make sure to use a hook size that will give you a tight finish to ensure the stuffing doesn't show through stitches. I used 100g of a yellow cotton that knits to 4mm needles, and a 3.5mm crochet hook and my lion measures 33.5cm from head to foot. I used 12mm safety eyes.
I have worked hard creating my original patterns and am happy for them to be used for free. Please do not sell the patterns. If you do sell the end products please state clearly that they were made using my design, and that the pattern came from www.craftymamasanchez.blogspot.com. Thanks, and enjoy!
What you'll need:
- Yarns in yellow, brown, black and cream
- Crochet hook
- Yarn needle
- Polyester toy stuffing
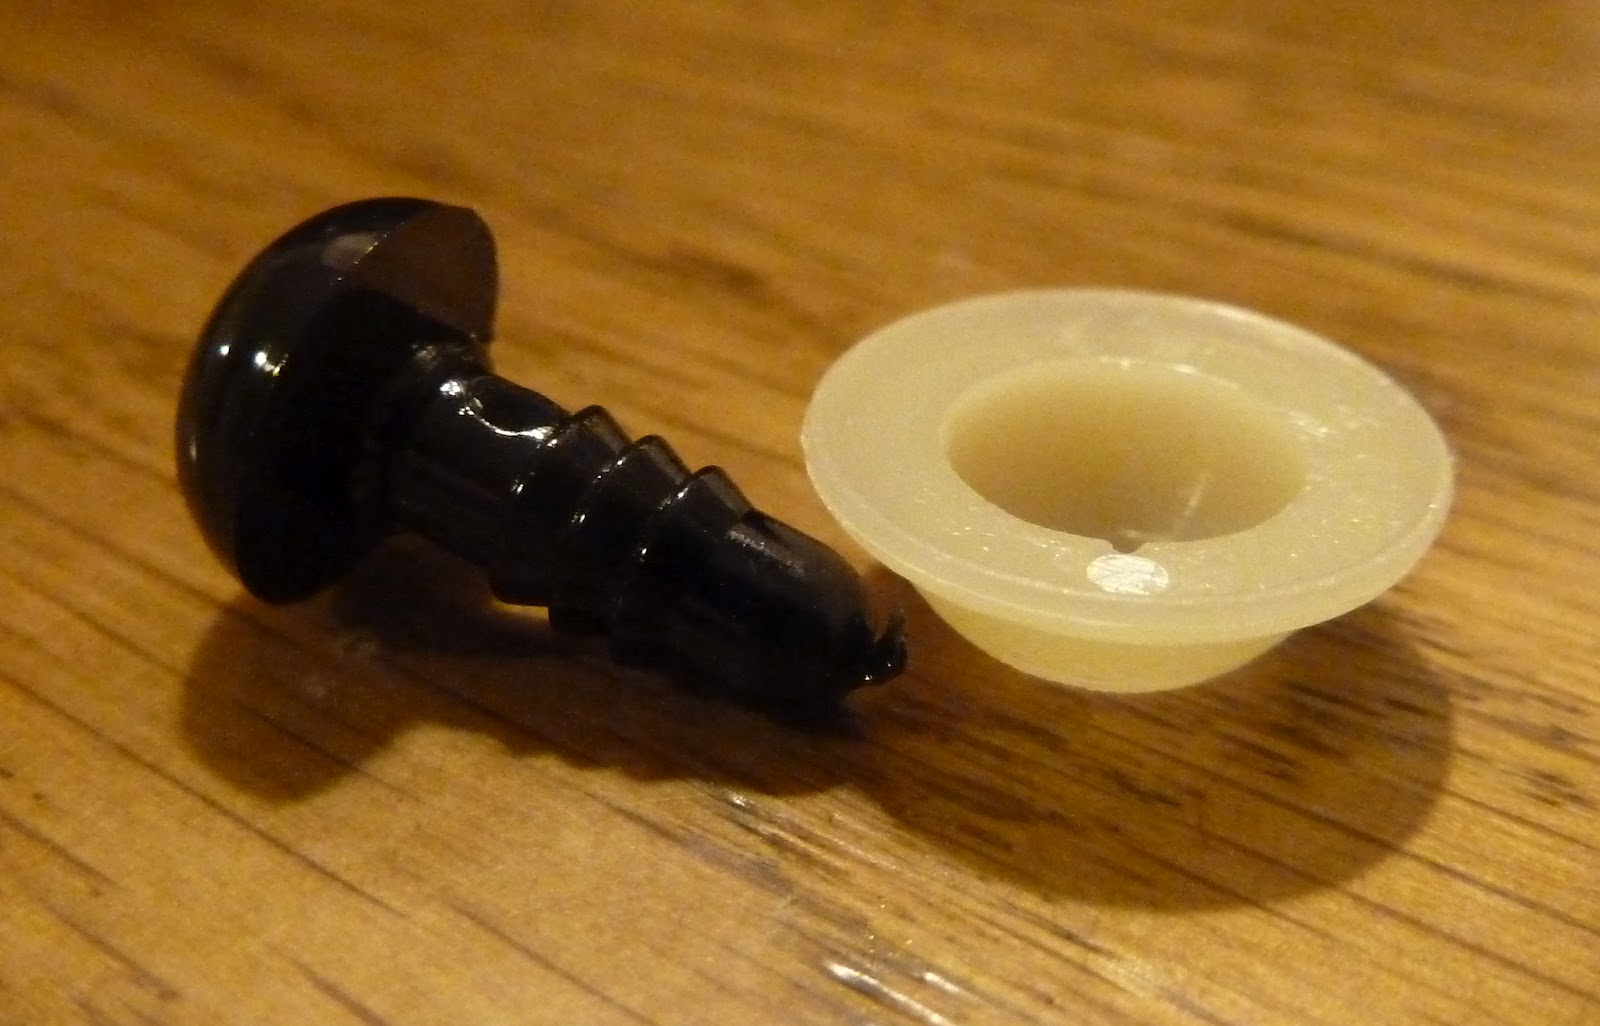
- 2 safety eyes (optional). These plastic eyes that can be bought in a number of sizes really add to the professional finish of your toy. Make sure to insert them securely. If you are giving the toy to a baby, you may prefer to embroider the eyes.
Techniques used (UK terminology):
- ch: chain
- dc: double crochet (US single crochet)
- slst: slip stitch
- inc: work 2 dc into next stitch
- dec. You can use dc2tog, double crochet 2 together: insert hook in next stitch, yarn over and pull up loop (2 loops on hook), insert hook in next stitch, yarn over and pull up loop (3 loops on hook), yarn over and draw through all 3 loops on hook. If you prefer to use invDec, invisible decrease: then hook through front loop only of next two stitches, yarn over, draw through loop (3loops on hook), yarn over and draw through 2 loops (2 loops on hook), yarn over and draw through both loops on hook
- front loop only
- working in continuous rounds. Unless otherwise stated, all parts of toy are worked in continuous rounds
- working in rows
- working rounds by joining
Tail
Round 1: With brown, ch 2 and work 4 dc into 2nd chain from hook (or work 4 dc into a magic circle) [4]
Round 2: (1 dc, inc) x 2 [6]
Rounds 3-4: Work 2 rounds without shaping [6]
Round 5: (2 dc, inc) x 2 [8]
Round 6: (2 dc, dec) x 2 [6]
Change to yellow and work 25 rows without shaping. This will give a tail reaching halfway down the foot (the white part of the leg). If you prefer, work the first leg, then work the tail the length you want it against the leg and add 5 rows.
Legs
Make two, without breaking the yarn after completing the second
Round 1: With cream, ch 2 and work 8 dc into 2nd chain from hook (or work 8 dc into a magic circle) [8]
Round 2: 2 dc into each st round [16]
Round 3: (1 dc, inc) x 8 [24]
Round 4: (2 dc, inc) x 8 [32]
Round 5: Work without shaping [32]
Round 6: (7 dc, inc) x 4 [36]
Rounds 7-10: Work 4 rounds without shaping [36]
Round 11: (7 dc, dec) x 4 [32]
Round 12: (6 dc, dec) x 4 [28]
Round 13: (5 dc, dec) x 4 [24]
Change to yellow
Rounds 14-21 Work 8 rounds without shaping [24]
Round 22: (10 dc, dec) x 2 [22]
Rounds 23-30: Work 8 rounds without shaping [22]
Round 31: (9 dc, dec) x 2 [20]
Rounds 32-39: Work 8 rounds without shaping [20]
Round 40: (8 dc, dec) x 2 [18] Rounds 41-46: Work 6 rounds without shaping [18]
Body
Stuff both legs, fold working leg in half and crochet 8 stitches through, chain 2 then fold second leg in half and crochet 8 stitches through. Now, resume working in the round:
Round 1: Work 18 stitches through front loops only. Turn work so that the unworked back loops are at the front of the work and work these 18 stitches. [36]
Round 2: (5 dc, inc) x 6 [42]
Round 3: (6 dc, inc) x 6 [48]
Rounds 4-6: Work 3 rounds without shaping [48]
Attach the tail in the next row, between the legs. Fold the tail in half and hold at front of work. Work 2 stitches through 2 layers of tail and 1 layer of the body
Round 7: (7 dc, inc) x 6 [54]
Rounds 8-12: Work 5 rounds without shaping [54]
Round 13: (7 dc, dec) x 6 [48]
Rounds 14-17: Work 4 rounds without shaping [48]
Round 18: (6 dc, dec) x 6 [42]
Rounds 19-22: Work 4 rounds without shaping [42]
Round 23: (5 dc, dec) x 6 [36]
Rounds 24-25: Work 2 rounds without shaping [36]
Round 26: (4 dc, dec) x 6 [30]
Rounds 27: Work without shaping [30]
Round 28: (3 dc, dec) x 6 [24]
Rounds 29: Work without shaping [24]
Round 30: (2 dc, dec) x 6 [18]
Start stuffing the body. Now start increasing for the head
Round 31: (2 dc, inc) x 6 [24]
Round 32: (3 dc, inc) x 6 [30]
Round 33: (4 dc, inc) x 6 [36]
Round 34: Work without shaping [36]
Round 35: (5 dc, inc) x 6 [42]
Round 36: Work without shaping [42]
Round 37: (6 dc, inc) x 6 [48]
Rounds 38-47: Work 10 rounds without shaping [48]
If using safety eyes, insert between rows 44 and 45, with 10 stitches between them. Start stuffing and continue as you go along
Round 48: (6 dc, dec) x 6 [42]
Round 49: (5 dc, dec) x 6 [36]
Round 50: (4 dc, dec) x 6 [30]
Round 51: (3 dc, dec) x 6 [24]
Round 52: (2 dc, dec) x 6 [18]
Round 53: (1 dc, dec) x 6 [12]
Round 54: dec x 6 [6]
Draw yarn through last 6 stitches, secure and weave in loose ends. Don't worry about being too neat - any little bump can be hidden under the mane.
Arms
Make two
Round 1: With cream, ch 2 and work 8 dc into 2nd chain from hook (or work 8 dc into a magic circle) [8]
Round 2: 2 dc into each st round [16]
Round 3: (1 dc, inc) x 8 [24]
Round 4: (5 dc, inc) x 4 [28]
Round 5: (6 dc, inc) x 4 [32]
Rounds 6-8: Work 3 rows without shaping [32]
Round 9: (2 dc, dec) x 8 [24]
Round 10: Work without shaping [24]
Round 11: (4 dc, dec) x 4 [20]
Change to yellow
Rounds 12-18: Work 7 rows without shaping [20]
Round 19: (8 dc, dec) x 2 [18]
Rounds 20-26: Work without shaping for 7 rows [18]
Round 27: (7 dc, dec) x 2 [16]
Rounds 28-34: Work without shaping for 7 rows [16]
Round 35: (6 dc, dec) x 2 [14]
Rounds 36-37: Work without shaping for 2 rows [14]
Stuff, fold in half and crochet 6 stitches through both sides. Sew to either side of neck.
Nose
The nose is worked in rounds, but not continuous rounds as for the rest of the toy. At the end of a round, join to the first stitch of the round with a slip stitch, ch1 then start the next round in the top of the slip stitch
Round 1: With black, ch 2 and work 8 dc into 2nd chain from hook (or work 8 dc into a magic circle), join, ch1 [8]
Round 2: 3 dc in first stitch, dc in next 2 stitches, 3 dc in each of next 2 stitches, dc in next 2 stitches, 3 dc in last stitch, join, ch1 [16]
Round 3: 3 dc in first stitch, dc in next 6 stitches, 3 dc in each of next 2 stitches, dc in next 6 stitches, 3 dc in last stitch, join and fasten off [24]
Cheeks
Make two
Round 1: With cream, ch 2 and work 6 dc into 2nd chain from hook (or work 6 dc into a magic circle) [6]
Round 2: 2 dc into each st round [12]
Round 3: (1 dc, inc) x 6 [18]
Round 4: (2 dc, inc) x 6 [24]
Round 5: Work without shaping
Ears
Each ear is made by making a cream semi-circle, then a yellow semi-circle which is joined to the cream one by placing the cream one behind it and working the final row through both pieces. Semi-circles are worked in rows, not continuous rounds. Do not count the turning chain as a stitch.
Make two:
Row 1: With cream ch2, work 3 dc into 2nd chain from hook. Ch1, turn [3]
Row 2: 2 dc in each stitch across. Ch1, turn [6]
Row 3: (1 dc, inc) x 3. Ch1, turn [9]
Make two:
Row 1: With yellow ch2, work 3 dc into 2nd chain from hook. Ch1, turn [3]
Row 2: 2 dc in each stitch across. Ch1, turn [6]
Row 3: (1 dc, inc) x 3. Ch1, turn [9]
Row 4: Working with a cream semi-circle behind, work 9 dc across through both the yellow and the cream pieces, then rotate and work 6 stitches along to close the ear completely
Mane
Make a chain long enough to fit around the head, under the chin and behind the ears, join to make a loop being careful not to twist stitches. Work two rounds of loop stitch.
Finishing
Using the picture as a guide first sew on the nose then the cheeks, stuffing as you go. Sew on the ears, then the mane, tucking it behind the ears.
Thanks for the pattern! Lion is lovely - I have made one for a friends birthday - http://macscrochet.blogspot.co.uk/2012/04/granny-square-mania-king-of-jungle.html
ReplyDeleteHope you like it!
Ali
He looks super! Glad you like my technique of working bits in instead of sewing - it took me a little while to figure it out =)
DeleteGoing to be starting this for a baby gift! Just found the pattern through google.. Are you on Ravelry??
ReplyDeleteI certainly am on Ravelry as 'Crafty Mama Sanchez'.... I wanted him to have really dangly legs but there have been complaints about this. You may want to make an arm first then a leg so you can get them in the proprtion you'd like. Enjoy!
DeleteSuch a beautiful lion! Thank you for sharing it with us! Please stop by at www.etsy.com/shop/karapoozcrochet
ReplyDeleteThank you! I'm just starting out so it's always nice when someone leaves a comment :-)
DeleteOMG... I LOOOOOOOVE THIS! I wanna make one for me, even tho I'm female... but I'm a leo... so I love lions! Plus.... it looks just like my old childhood toy.... Awesome! And thank you SO much for sharing for FREE, that's just a double bonus! You rock! (PS... off to check you on Ravelry too!) :)
ReplyDeleteYou're welcome! I've received some feedback that the legs turn out longer than some people would like so try working one round less in each straight section if you want the legs to be less dangly.... Enjoy! My little boy loves his :-)
Delete